


Article
Taperlock Brake Shoe, Spring & Brake Adjustment Guide
When and how should Taperlock buggy brakes be adjusted?
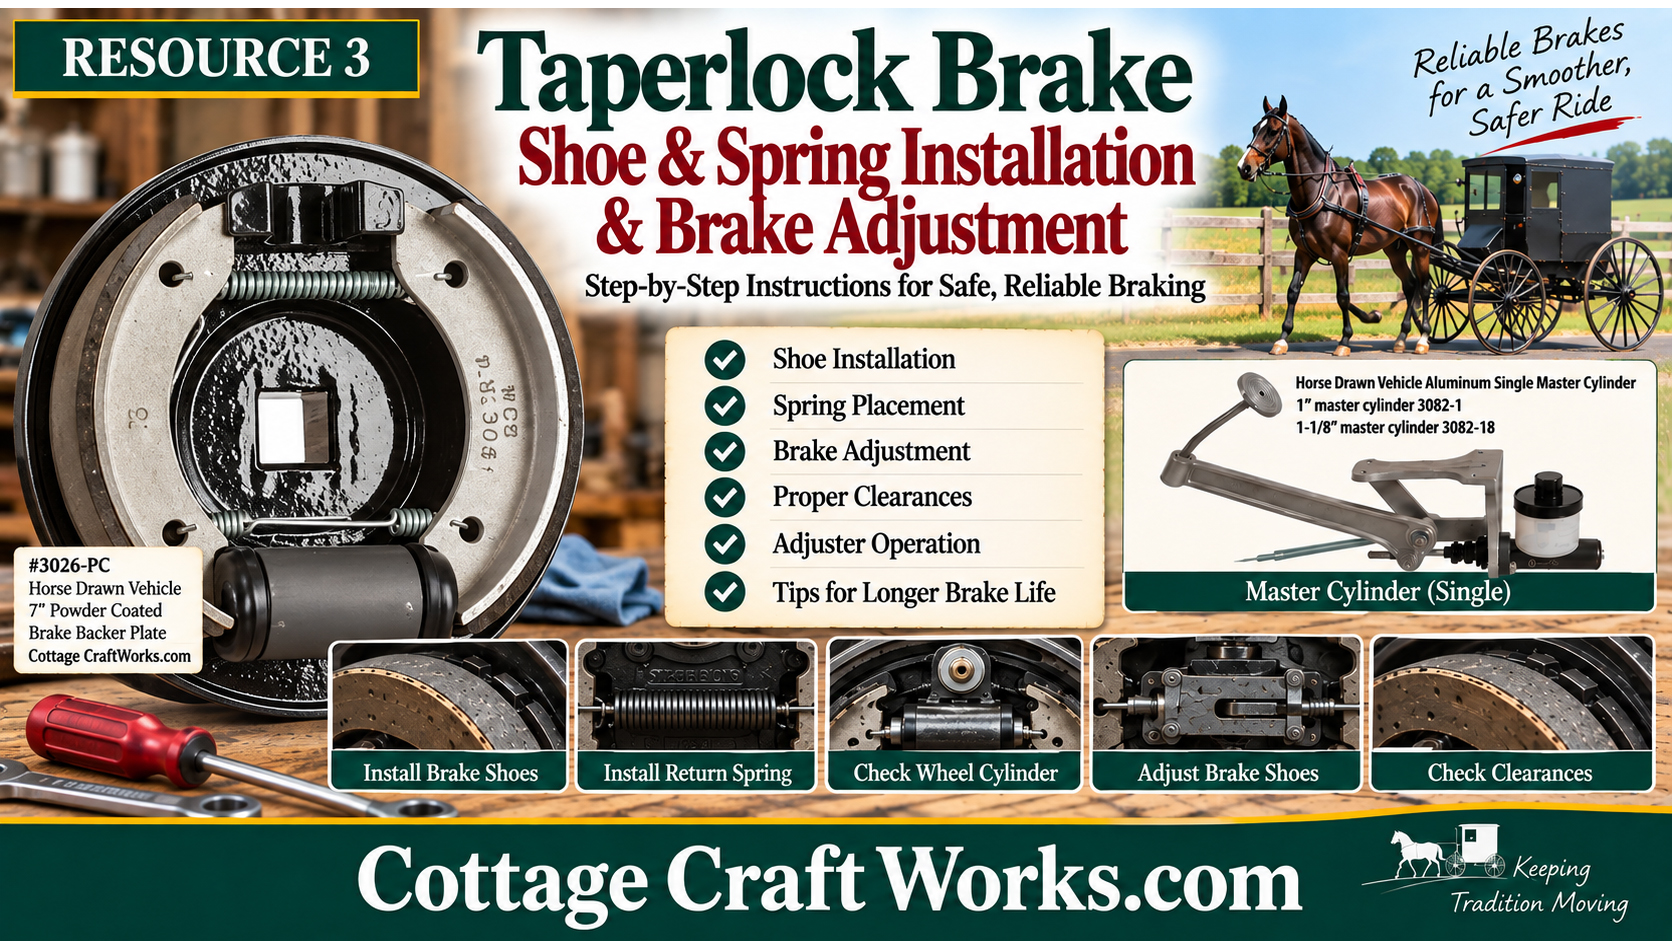
Bleed the hydraulic system first. Then jack up and spin the wheels, apply the brakes to seat the shoes, release the adjuster, turn it until the shoes just begin to nick the drum, back it off until the contact stops, and tighten the lock nut while holding the adjuster.
Resource 3
Correct spring orientation and final shoe adjustment help the drum brake release cleanly and apply evenly.
Installing the Shoe Springs
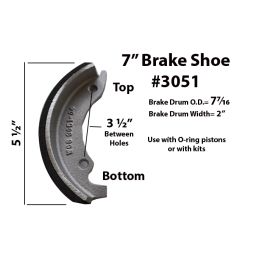
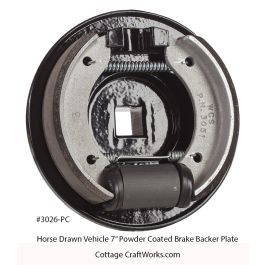
For 7-inch brakes, Weavertown specifies that the bottom shoe spring is installed with both hooks facing outward and the wire turned toward the wheel cylinder. Hook the bottom spring onto both shoes, place the bottoms of the shoes into the wheel-cylinder piston notches, and pivot the shoes toward the top while keeping the shoe bottoms seated. Use a pry bar or long screwdriver as needed to place the top of the second shoe. On 8-inch brakes, install the hold-down springs. With one shoe correctly positioned, hook the top spring onto both shoes with the spring hooks turned outward.
Adjust Only After Bleeding
The catalog states that brake adjustment must be done after the brakes have been bled and also notes that new systems may not require adjustment.
Adjustment Procedure
Jack up the wheels. Spin the wheels and apply the brakes so the shoes settle into their home position. Loosen the adjuster nut while holding the adjuster with a 5/32-inch Allen wrench. For 8-inch brakes use a 9/16-inch wrench; for 7-inch brakes use a 3/4-inch wrench.
On 7-inch brakes, the adjuster may need to be tapped inward to release it. Loosen the nut several turns and tap the adjuster inward with a hammer. Do not remove the nut completely because doing so can damage the adjuster threads.
Spin the wheel again and turn the adjuster until the shoes are just contacting or 'nicking,' then back the adjustment off only enough that they no longer nick. Hold the adjuster while tightening the lock nut.
Pedal Position
For user comfort and maximum leverage, the plunger rod can be adjusted so the pedal travels to a comfortable position while maintaining useful leverage.
Safety Disclaimer
Brake installation, adjustment, hydraulic service, and repair are safety-critical work. These resource pages summarize the referenced Weavertown Coach Shop material for educational and service-reference purposes. Vehicle condition, axle machining, hub style, brake size, and prior modifications can change the correct procedure. Work should be performed by a mechanically qualified person familiar with hydraulic drum brakes. Inspect the complete system and test braking operation in a controlled area before returning a horse-drawn vehicle to service. Never rely on the vehicle brakes as a substitute for proper horse control, harnessing, driving technique, or safe operating practices.
Cottage Craft Works.com
Technical information adapted from the Weavertown Coach Shop catalog, Bird-in-Hand, Pennsylvania, with credit and permission from Weavertown Coach Company.
Downloads
Frequently Asked Questions
Should new brakes always be adjusted?
Which way do the 7-inch bottom spring hooks face?
How much drag should remain after adjustment?
Related Products
 Horse Carriage, Cart, Drum Brake Kit View product
  Horse-Drawn Vehicle Hydraulic Brake Shoes View product
  Horse Drawn Vehicle Brake Assembly View product
  Horse Drawn Vehicle Hydraulic Brake Master Cylinder View product
  Horse Drawn Vehicle Brake Components View product
  Horse Drawn Vehicle Brake Drum View product