


Article
Installing Taperlock Hydraulic Drum Brakes on Horse-Drawn Vehicles
How are Taperlock brake backer plates installed on a horse-drawn vehicle axle?
Measure from the large bearing seat, mark the axle for the brake size, remove coating from the clamping area, apply permanent threadlocker, slide the backer plate on with the adjuster up and wheel cylinder down, seat the wedges at the mark, and tighten the clamp screws evenly in a criss-cross pattern.
Resource 1
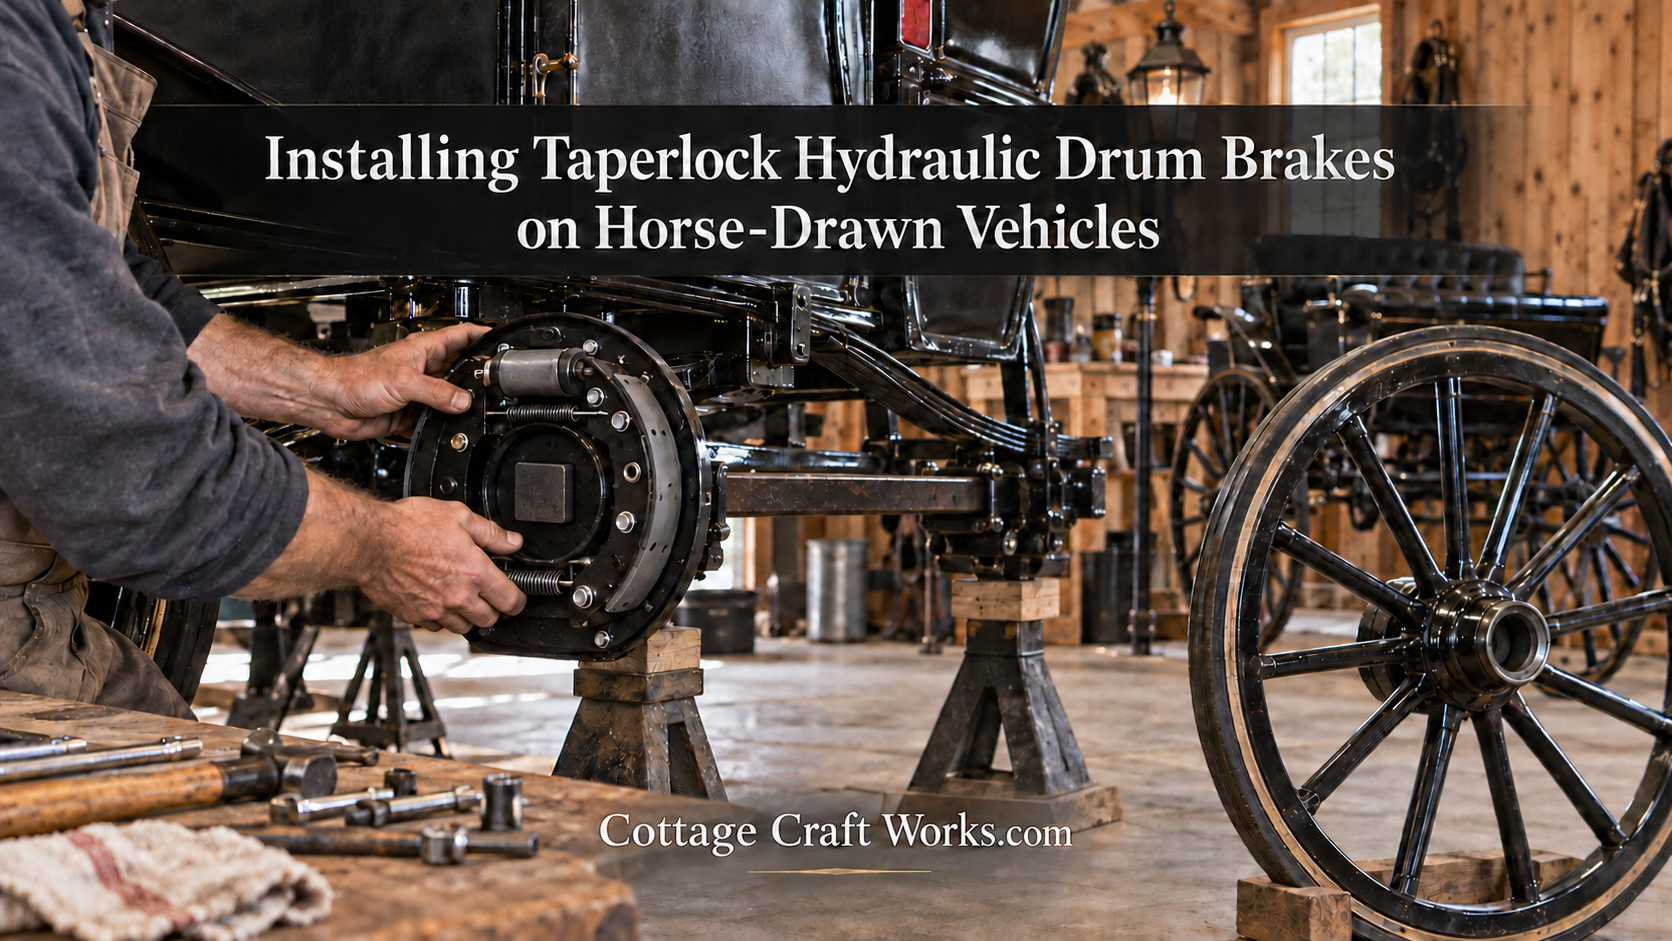
Use this guide when installing 7-inch or 8-inch EASY STOP Taperlock brake backer plates on a square axle.
1. Measure and Mark the Axle
Measure from the large bearing seat and make the position mark on the square portion of the axle. Weavertown lists a starting measurement of 2-5/8 inches for EASY STOP Taperlock or push-on 7-inch backers and 2-3/4 inches for EASY STOP Taperlock 8-inch backers. The catalog notes that these measurements may require fine tuning because axle thickness and machining, race position, and hub type or style can change the final position.
2. Provide Tool Clearance if Needed
The catalog shows a sharp-angle cut on the axle cap so a ratcheting tool can reach the top clamp-plate screw. Its suggested starting point is about 1 to 1-1/2 inches from the backer-plate position mark.
3. Prepare the Clamp Surface
Remove paint or powder coating from the square part of the axle inward to the position mark. Weavertown identifies this as an important step because the Taperlock wedges need a solid clamping surface.
4. Apply Threadlocker
Apply permanent red threadlocker to the clamp-plate screws before final assembly.
5. Position the Backer Plate
Slide the assembled backer plate onto the axle with the adjuster at the top and the wheel cylinder at the bottom. Push the assembly inward until the wedge blocks contact the axle-position mark.
6. Tighten the Clamp Plate Evenly
Lightly turn all clamp screws until the plate is no longer loose. Then tighten with a hand tool using a 5/32-inch hex bit or Allen wrench. Tighten in a criss-cross pattern rather than around the plate in a circle. The catalog warns that circular tightening can twist the backer. Tighten evenly and confirm all screws are tight; the catalog gives approximately 8 ft-lb.
Safety Disclaimer
Brake installation, adjustment, hydraulic service, and repair are safety-critical work. These resource pages summarize the referenced Weavertown Coach Shop material for educational and service-reference purposes. Vehicle condition, axle machining, hub style, brake size, and prior modifications can change the correct procedure. Work should be performed by a mechanically qualified person familiar with hydraulic drum brakes. Inspect the complete system and test braking operation in a controlled area before returning a horse-drawn vehicle to service. Never rely on the vehicle brakes as a substitute for proper horse control, harnessing, driving technique, or safe operating practices.
Cottage Craft Works.com
Technical information adapted from the Weavertown Coach Shop catalog, Bird-in-Hand, Pennsylvania, with credit and permission from Weavertown Coach Company.
Downloads
Frequently Asked Questions
What starting mark is used for 7-inch brakes?
What starting mark is used for 8-inch Taperlock brakes?
Why remove paint from the axle?
How should the clamp screws be tightened?
Related Products
 Horse Carriage, Cart, Drum Brake Kit View product
 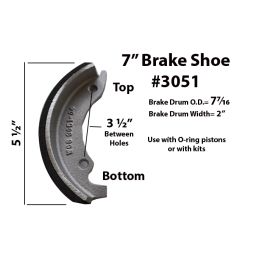 Horse-Drawn Vehicle Hydraulic Brake Shoes View product
 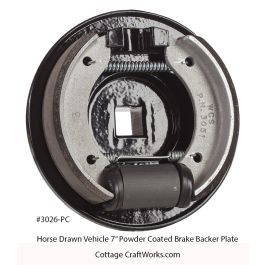 Horse Drawn Vehicle Brake Assembly View product
  Horse Drawn Vehicle Hydraulic Brake Master Cylinder View product
  Horse Drawn Vehicle Brake Components View product
  Horse Drawn Vehicle Brake Drum View product