
Article
Heller-Aller Model 190-A Brass Cylinder Installation Guide
How is the brass cylinder installed on a Heller-Aller Model 190-A pump?
The cylinder is oriented with its outlet toward the pump, connected to 1¼-inch drop pipe and the stainless-steel operating rod, lowered below the pumping water level, and supported by the pipe while sections are added. The rod is then connected and adjusted at the pump head so the plunger completes its stroke without bottoming.
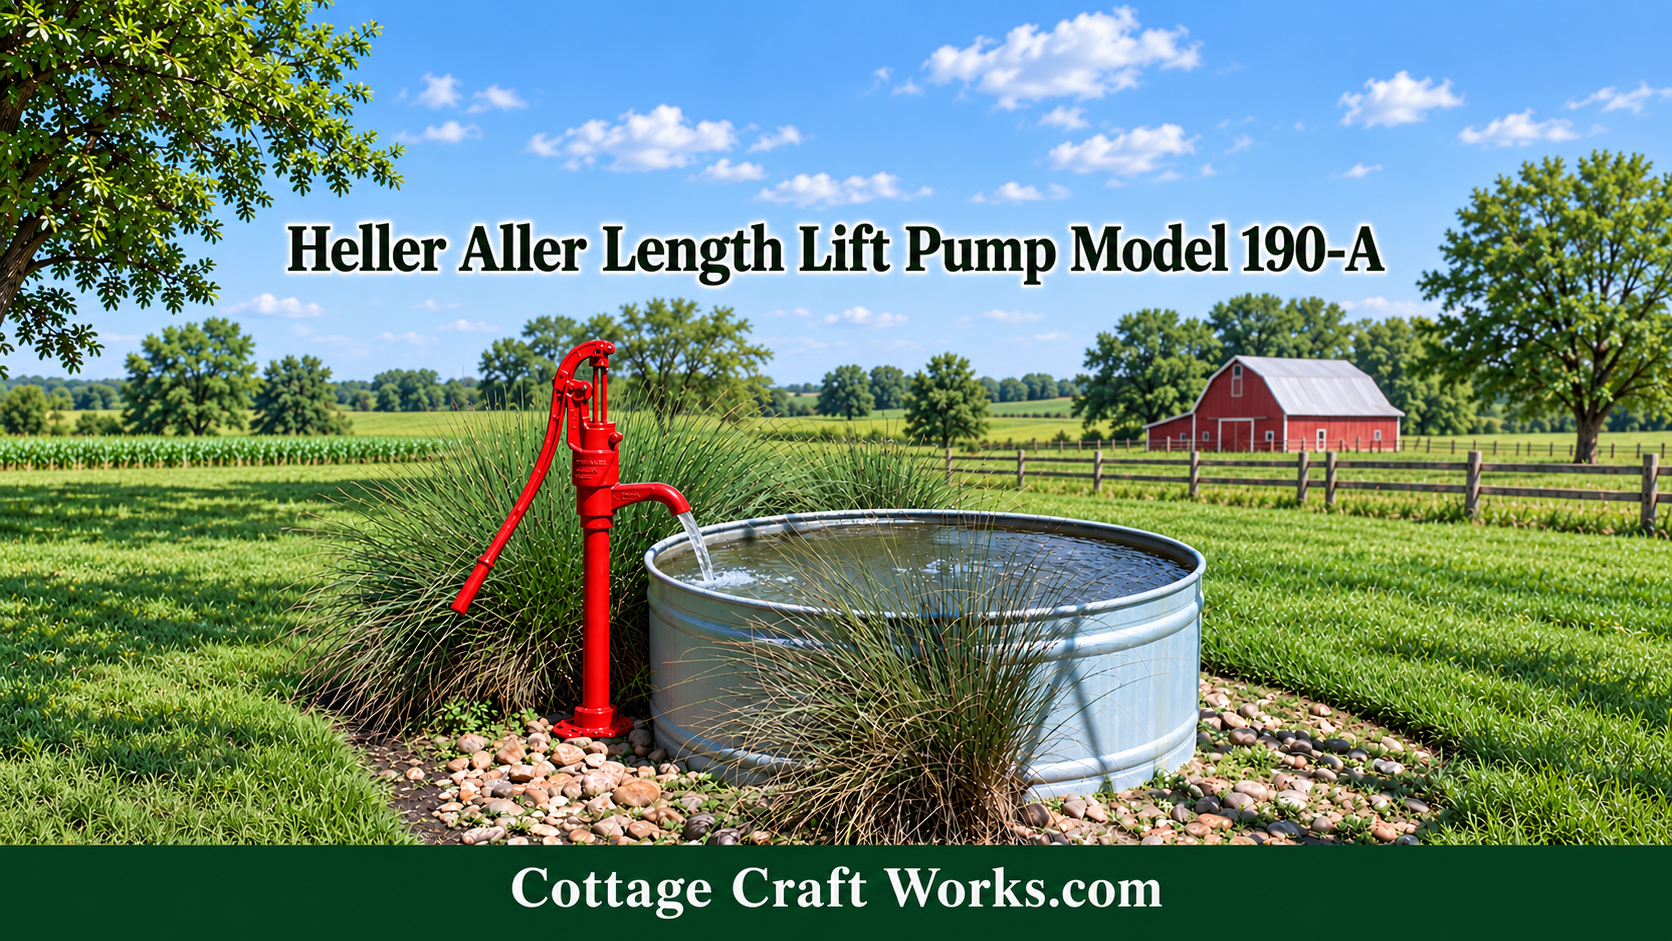
Model-specific guidance for installing the supplied 2½-inch × 10-inch brass lift cylinder used with the Heller-Aller 190-A length lift pump.
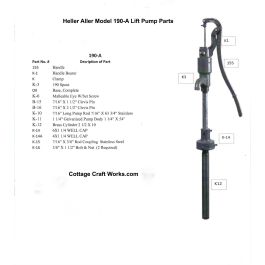
The 190-A does its pumping at the submerged brass cylinder rather than inside the visible pump head. Moving the handle operates the stainless-steel rod, which moves the cylinder plunger. On the working stroke, the valves and cup leather cause water to rise through the 1¼-inch drop pipe and discharge at the pump spout. Correct cylinder depth and sound connections are therefore essential.
Before Beginning
Use the separate Cottage Craft Works well-depth and static-water-level guide to determine the required set length.
Confirm casing diameter, well-cap style, pipe material, rod size, coupling arrangement, and clearance for every component.
Inspect the brass cylinder and supplied parts for shipping damage, burrs, loose fasteners, or contamination.
Verify the cylinder’s inlet and outlet orientation before attaching pipe. Do not assume the two ends are interchangeable.
Lay out all pipe and rod sections in order on clean supports, protecting threaded ends from soil.
Arrange a positive pipe-holding device and lifting method before any assembly is suspended in the casing.
SAFETY NOTE: A complete pipe-and-cylinder assembly can be heavy and difficult to control. Use proper lifting and holding equipment. Keep hands clear of couplings and the casing opening, and use a qualified well contractor when the suspended load or working height cannot be handled safely.
Cylinder Installation Procedure
1. Confirm cylinder depth. Set the cylinder low enough to remain submerged below the anticipated pumping water level and drawdown, while maintaining required clearance above sediment. Do not choose the set length from total well depth alone.
2. Identify top and bottom. Use the markings, ports, valve arrangement, or supplied factory instructions to identify the cylinder outlet toward the pump and the inlet toward the water source. Installing a cylinder backward prevents correct valve action.
3. Prepare the cylinder rod. Connect the stainless-steel pump rod to the cylinder plunger rod with the specified coupling. Start threads by hand, fully engage them, and secure the connection by the manufacturer-approved method. The joint must remain straight and must not bind inside the pipe.
4. Attach the drop pipe. Thread the 1¼-inch drop pipe into the cylinder outlet. Use a potable-water-rated thread sealant compatible with the pipe and cylinder materials. Apply sealant only to male threads and keep excess material out of the waterway.
5. Install the lower arrangement. If required by the measured water level, attach a suitable tailpipe below the cylinder. Cottage Craft Works recommends a foot valve for installations deeper than 10 feet. Keep the inlet clear of the well bottom and sediment.
6. Lower the first assembly. Support the pipe with a pump slide, pipe clamp, elevator, or other positive holding device at the casing. Never allow the weight to hang from the rod. Lower the cylinder without striking the casing or damaging the brass barrel.
7. Add pipe and rod sections. Add one pipe section at a time, then connect the matching rod section. Keep both assemblies centered. Tighten pipe joints without twisting, bowing, or loading the rod. Re-secure the pipe before moving the holding device.
8. Connect at the well head. When the correct set length is reached, support the drop pipe independently while installing the selected 4-inch, 6-inch, offset, or platform base. Make the final rod connection to the pump-head linkage with the handle positioned so the plunger does not bottom or strike at either end of its 6-inch stroke.
9. Secure and seal. Fasten the base to the casing or platform, maintain a sanitary well seal, and protect any shared-casing electrical wiring. Do not let the cap carry an unintended side load from misaligned pipe.
10. Prime and test. Operate the handle slowly until water reaches the spout. Check for smooth travel, full discharge, unusual resistance, leaking joints, failure to hold prime, or a handle that stops hard at either end. Stop and correct any binding before continued operation.
11. Sanitize and flush. After installation or internal service, disinfect the well and pump components using the applicable Cottage Craft Works sanitation guidance and local health requirements. Flush until disinfectant odor is gone and any required water test is satisfactory.
Final Adjustment Checks
The handle moves freely through its intended arc.
The rod remains centered and does not scrape or knock inside the drop pipe.
The plunger completes its working travel without bottoming in the cylinder.
Water delivery becomes consistent after priming.
The system holds water between strokes and does not rapidly lose prime.
Source Notes
Model-specific specifications are based on the Cottage Craft Works Heller-Aller Model 190-A product and replacement-parts listings. General installation and sanitation practices should be used together with the existing Cottage Craft Works deep-well hand-pump installation resources and the current instructions supplied with the pump and cylinder.
Safety & Responsibility Disclaimer
This guide is provided for general educational and planning purposes only. It does not replace the current Heller-Aller instructions, applicable well-construction and plumbing codes, local health-department requirements, or the judgment of a qualified well professional. Conditions vary by well depth, casing, water level, equipment, and site.
Deep-well pump installation involves heavy suspended pipe, pump rods, and equipment that can fall, shift, or cause serious injury, property damage, contamination, or loss of components down the well. Use properly rated lifting and pipe-holding equipment, maintain control of the assembly at all times, and hire a qualified well contractor whenever the load, working height, equipment, well condition, or procedure is beyond your training or ability. Cottage Craft Works LLC assumes no responsibility for injury, damage, contamination, equipment loss, or system failure resulting from installation, service, use, or misuse of the pump or this information. Disinfect and test the water system as required before placing it into drinking-water service.