
Article
How to Filter, Bottle, Label & Store Herbal Tinctures
What should I do with a tincture after pressing?
After pressing, allow the extract to settle when appropriate, filter it to the desired level, transfer it under clean conditions into compatible bottles, assign complete batch identification and store the finished preparation under conditions appropriate for that extract.
Pressing is not the end of tincture production.
After the liquid has been separated from the marc, the extract may need to settle, be filtered to the desired clarity, transferred into clean containers, identified by batch, bottled, and stored.
For commercial production, this stage also establishes traceability among the raw ingredients, the production batch, and the bottles that eventually reach customers.
Step 1 — Collect the Pressed Extract
Collect the liquid in clean, compatible equipment.
Avoid treating the collection container as an afterthought. Everything contacting the finished extract becomes part of the production process.
Step 2 — Allow the Extract to Settle
Fine botanical particles may remain suspended after pressing.
Allowing an extract to stand can permit heavier particles to settle naturally before additional filtration.
Not every extract must be visually crystal clear. The appropriate degree of filtration depends upon the preparation and desired finished product.
After settling and decanting, filter the extract as needed to remove remaining suspended botanical material. Coarse filter cloth, filter bags, or similar media can remove larger particles, while filter paper or finer filtration equipment can provide additional clarification.
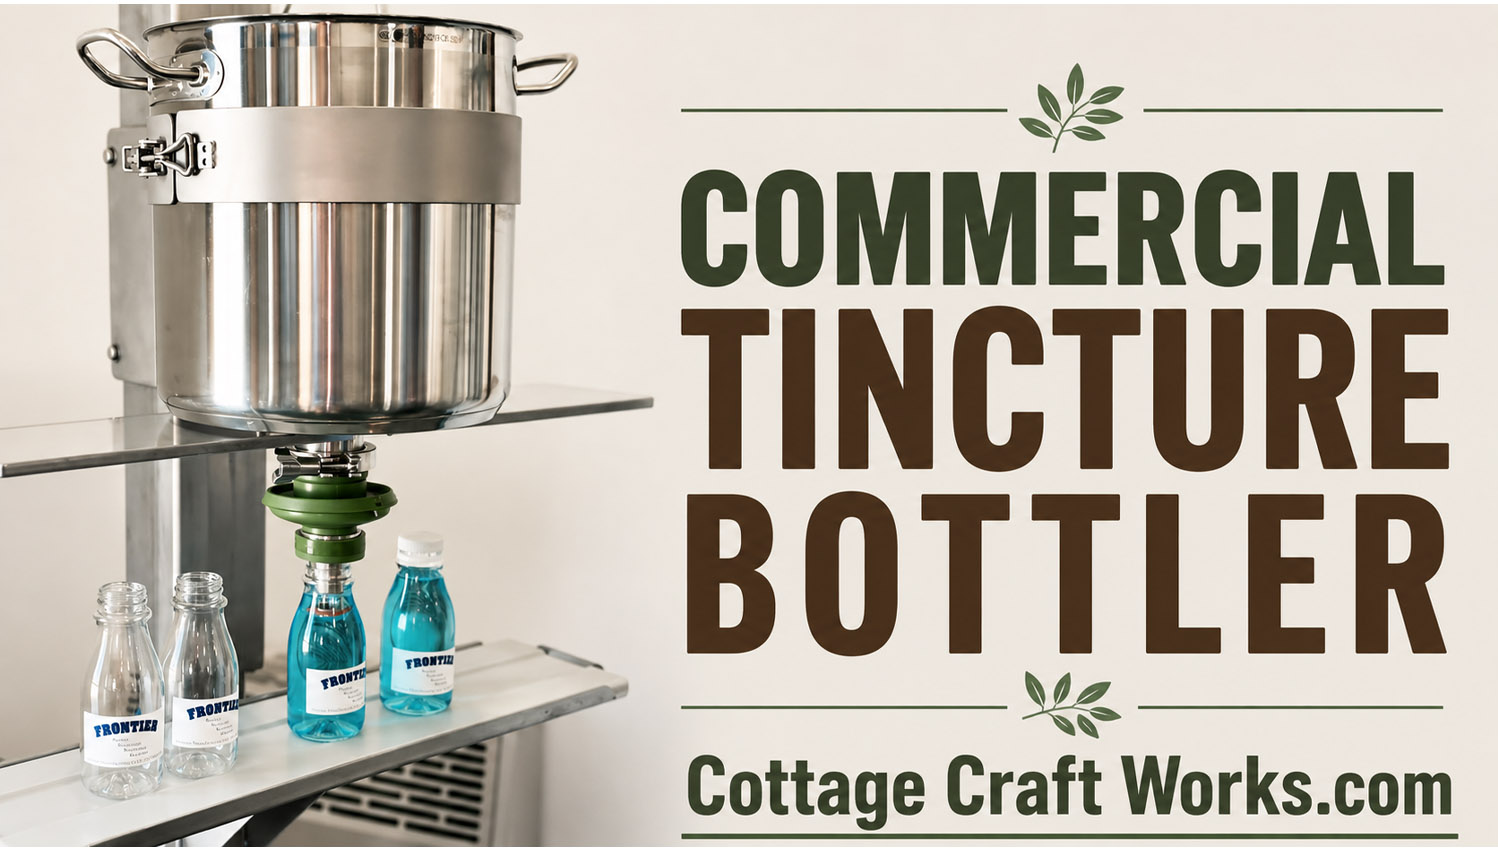
For sediment-heavy extracts, use progressively finer filtration rather than immediately using very fine media, which can clog quickly. Small producers may use stainless funnels and appropriate filter media, while higher-volume operations may use vacuum, cartridge, or inline filtration systems.
The desired filtration level depends on the botanical and finished-product specification. Fine filtration should not be assumed to sterilize an extract.
Step 3 — Coarse vs Fine Filtration
Coarse filtration removes larger botanical material.
Fine filtration removes smaller suspended particles.
Excessively fine filtration is not automatically superior. Filtration should have a defined production purpose rather than simply continuing until the liquid appears completely transparent.
After settling and decanting, filter the extract as needed to remove remaining suspended botanical material. Coarse filter cloth, filter bags, or similar media can remove larger particles, while filter paper or finer filtration equipment can provide additional clarification.
For sediment-heavy extracts, use progressively finer filtration rather than immediately using very fine media, which can clog quickly. Small producers may use stainless funnels and appropriate filter media, while higher-volume operations may use vacuum, cartridge, or inline filtration systems.
The desired filtration level depends on the botanical and finished-product specification. Fine filtration should not be assumed to sterilize an extract.
Step 4 — Transfer Cleanly
Use clean, compatible funnels, tubing, filling equipment, and containers.
Avoid unnecessary handling and repeated transfers.
Every additional open-container step provides another opportunity for:
- contamination;
- spillage;
- evaporation;
- batch mixing;
- labeling mistakes.
Step 5 — Choose Appropriate Bottles
Bottle selection can consider:
- compatibility with the extract;
- light exposure;
- closure type;
- bottle volume;
- shipping durability;
- dispensing requirements;
- consumer use;
- commercial presentation.
Amber and other dark glass containers are commonly used when light protection is desired, but packaging should be selected for the particular finished preparation.
Step 6 — Closures
Depending upon the product, closures might include:
- standard screw caps;
- dispensing caps;
- dropper assemblies;
- tamper-evident components.
Commercial packaging decisions should consider both product compatibility and applicable packaging requirements.
Step 7 — Assign a Batch or Lot Number
A commercial bottle should be traceable back to its production history.
A useful internal record can connect:
Finished bottle → lot number → bottling date → extraction batch → botanical lot → supplier.
That becomes extremely valuable if a quality question later arises.
Step 8 — Record Production Information
Depending upon the operation, records can include:
- botanical identity;
- plant part;
- supplier;
- raw-material lot;
- fresh/dried condition;
- botanical weight;
- extraction ratio;
- menstruum;
- alcohol percentage where applicable;
- maceration dates;
- pressing date;
- finished yield;
- filtration method;
- bottling date;
- finished-product lot.
Commercial Labeling
If a product is marketed as a dietary supplement in the United States, its labeling falls within an FDA regulatory framework; the original resource plan specifically calls for treating commercial labeling as more than simply designing an attractive bottle.
Product classification matters, so businesses should determine the requirements that apply to their specific product before designing labels.
Disclaimer
This information is provided for educational purposes only and is not medical, legal, or regulatory advice. Regulations and requirements may change and vary by product, location, and intended use. Commercial producers are responsible for determining and complying with all current federal, state, and local requirements applicable to their products and operations.